Installation
Objective: Learn about prerequisites, skill requirements, and how to install Work Planner.
This article provides an overview of the installation requirements and procedures for Work Planner through to your first login.
Prerequisites
Minimum System Requirement:
- Microsoft Windows® 10
- Intel™ i5 or higher processor
- 8GB of system memory minimum (16GB suggested for the larger datasets)
- At least 2GB of free hard drive space (Additional space is required for portfolio files)
- Optimized for 1024x768 pixel screen resolution
- Internet access
Note: Mac users need to use a Windows emulator such as Parallel Desktop to install ArcGIS Pro on their Mac machine.
Software Requirement:
- Editor level access to Predictor Web App
- ArcGIS Pro 3.0
- ArcGIS Online (Optional)
Prior Knowledge & Skills:
It is expected that the users of Work Planner have a basic understanding of the infrastructure they are working with, Project Planning experience, and familiarity with ArcGIS Pro as listed below:
- Infrastructure Work / Capital Investment Planning and budgeting
- Basic GIS skills. Skills required:
- Create and Open an ArcGIS Pro Project
- Select features on a map; Clear selection
- Pan and Zoom around the map
Knowledge of Predictor and Lifecycle modelling is advantageous, but not required.
Installation and Setup
- Make sure you have the latest version of ArcGIS Pro installed on your PC. Seek assistance from your IT staff or Esri Support if you do not.
- It is best to close ArcGIS Pro before installing Work Planner.
- Log in to the Predictor Web application here with your Predictor account. Note, you must be assigned to at least one Portfolio with Editor or higher privileges to use Work Planner.
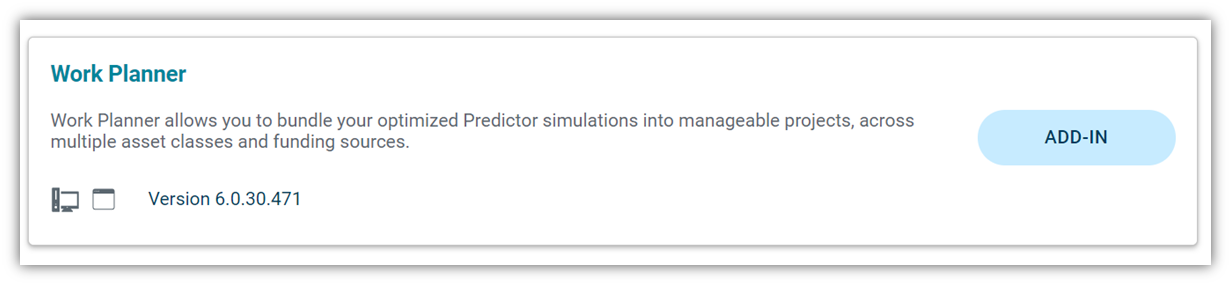
- Click on the "Help" tab in the Predictor menu on the left side of the page, then click on "Apps & Downloads".
- Click on the "ADD-IN" button to download the Work Planner installer "Predictor-Work-Planner-Addin.esriAddinX".
- Click on the installation file "Predictor-Work-Planner-Addin.esriAddinX". It will take you to the Esri add-in installation utility:
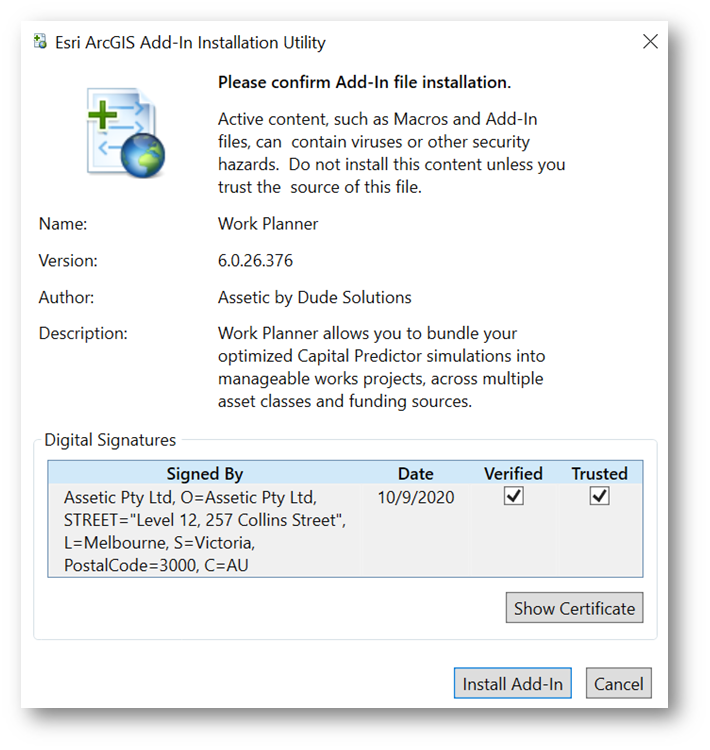
- Click on the "Install Add-In" button. Make sure digital signatures are both ticked on.
- Installation is successful when the following dialogue box is displayed:
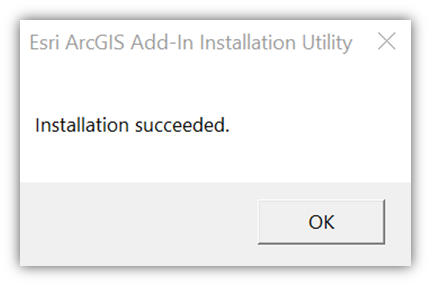
Note: Please contact Support (assetic.support@brightlysoftware.com) if the installation wasn't successful. - Now restart ArcGIS Pro. It is often best to create a new ArcGIS Pro Project, but if you are experienced with ArcGIS Pro, then you may select an existing one. However, keep in mind that Work Planner will add GIS data to your map for it to work with.
- With ArcGIS Pro open, check for the "Work Planner" icon under the "Add-In" tab.
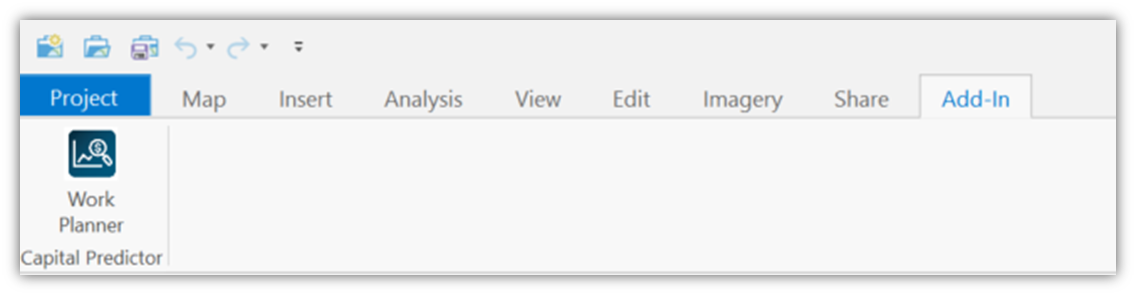
- When selecting the Work Planner icon, it will prompt you to log in to your Predictor Web App account inside the ArcGIS Pro. Use your login credentials to start the Work Planner module.
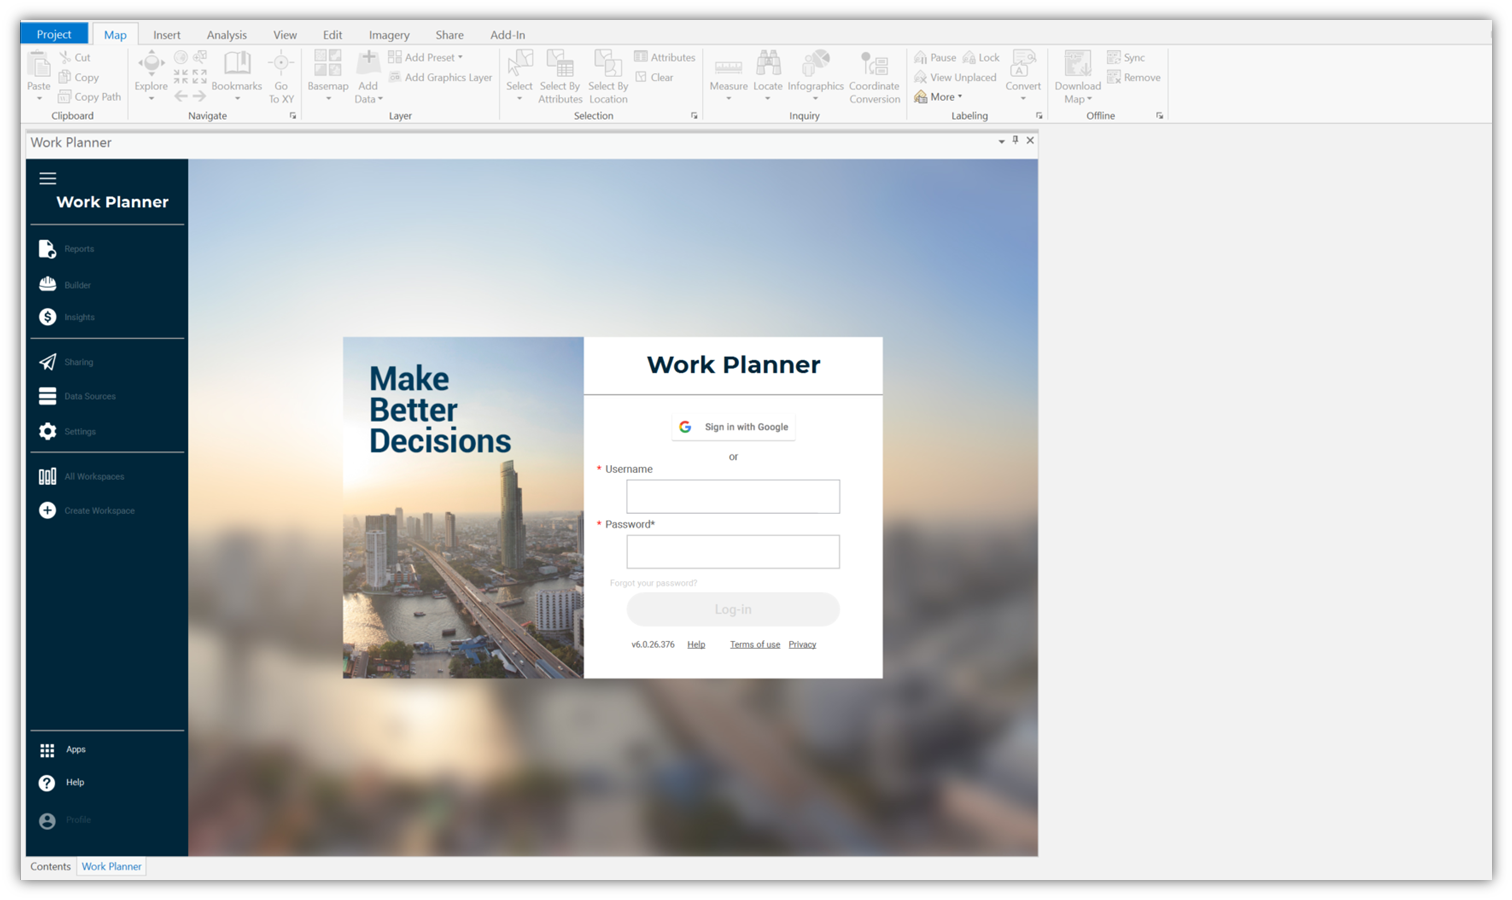
- A successful login will take you to this landing page:
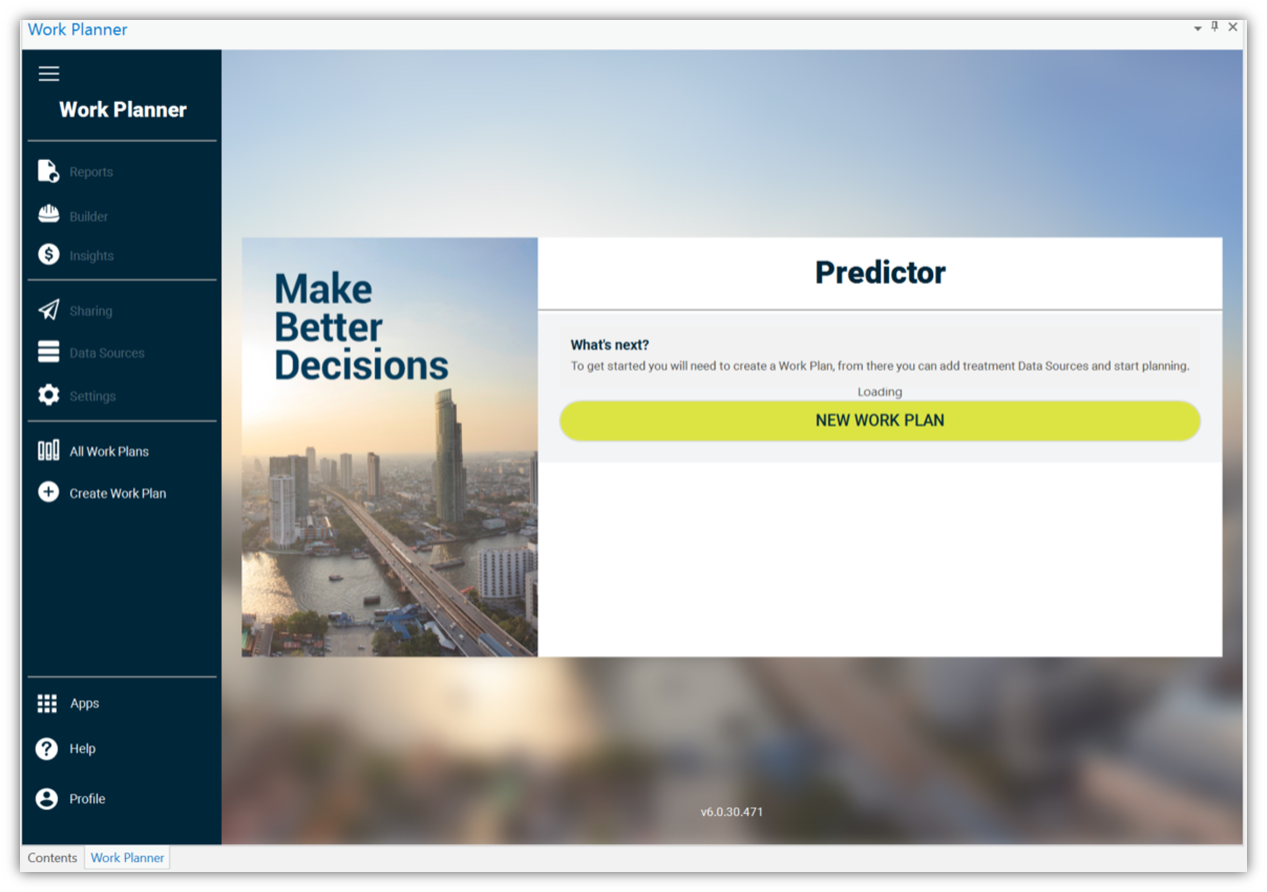
This confirms that the software is installed correctly.
